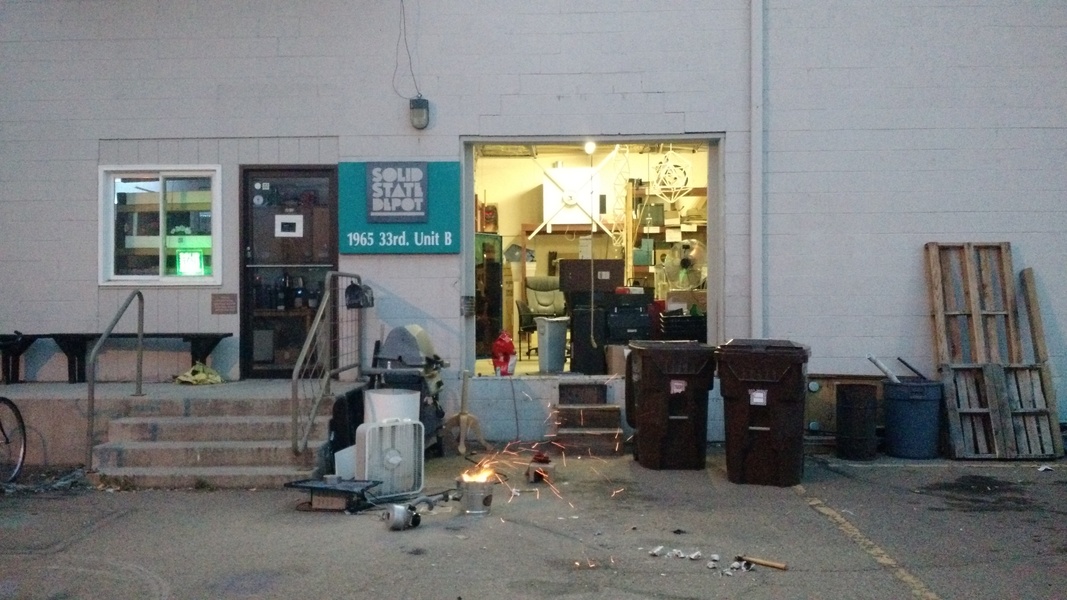
DIY Aluminum casting
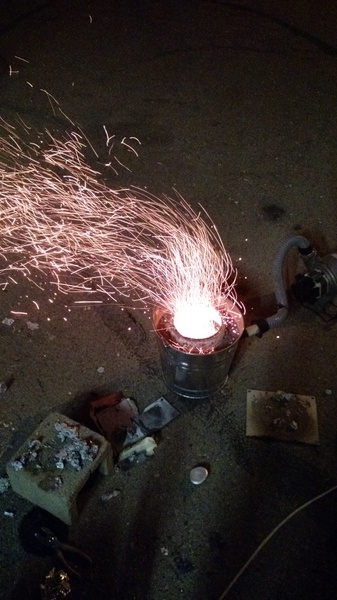
This is an aluminum forge I made while on an internship in Colorado. Charcoal bricks are lit and superheated through a vent drilled through the side. The walls of the forge are filled with a refractory material which reflects heat and raises internal temperatures to above 1200 F.
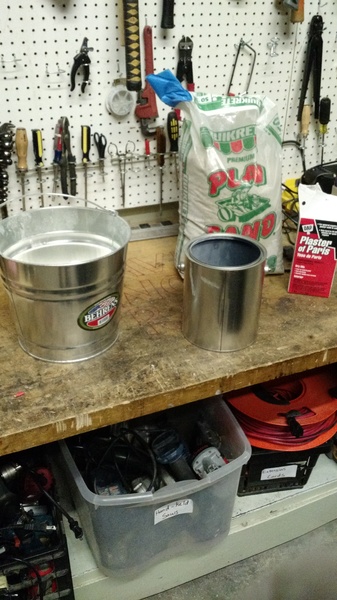
These materials all came from home depot for around $25. I would recommend buying 2 or 3 cartons of plaster, as I was a little short when making the forge. I also used it for making casting molds, as you'll see later.
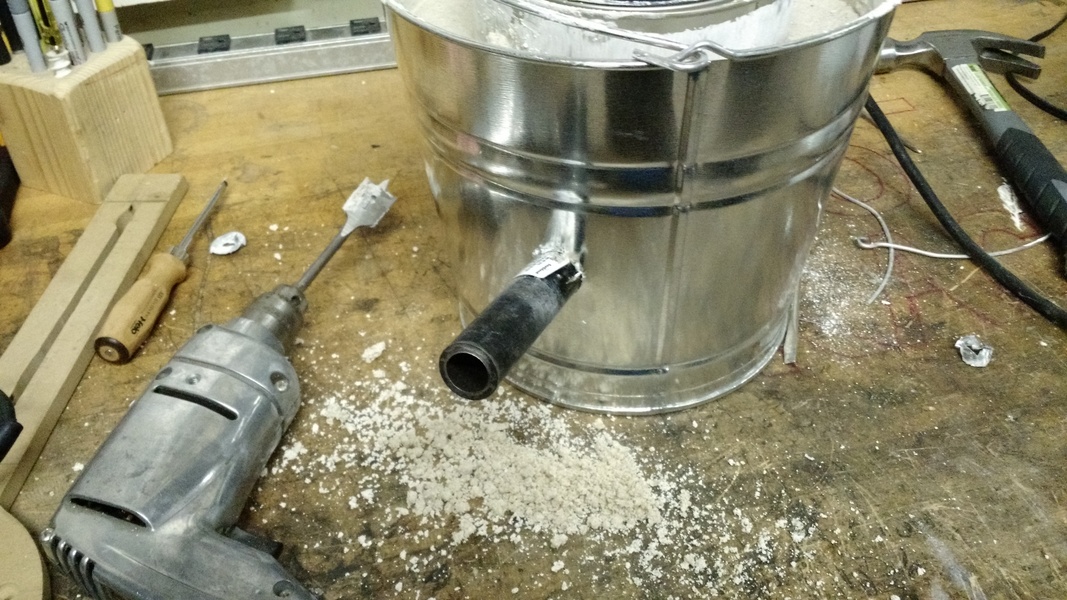
Next I mixed sand, plaster, and water in the steel bucket about 1:1:1, pushed in the paint bucket and held it for about 10 minutes while the plaster solidified. I would probably use more sand next time to save on plaster. While the plaster was still soft, I used a spade bit to drill a hole into the forge an inserted a length of steel pipe to function as a vent for the blower. This hole is downward facing to prevent any charcoal or aluminum from escaping the forge.
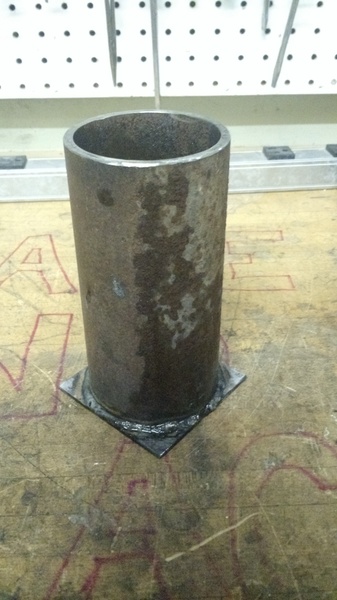
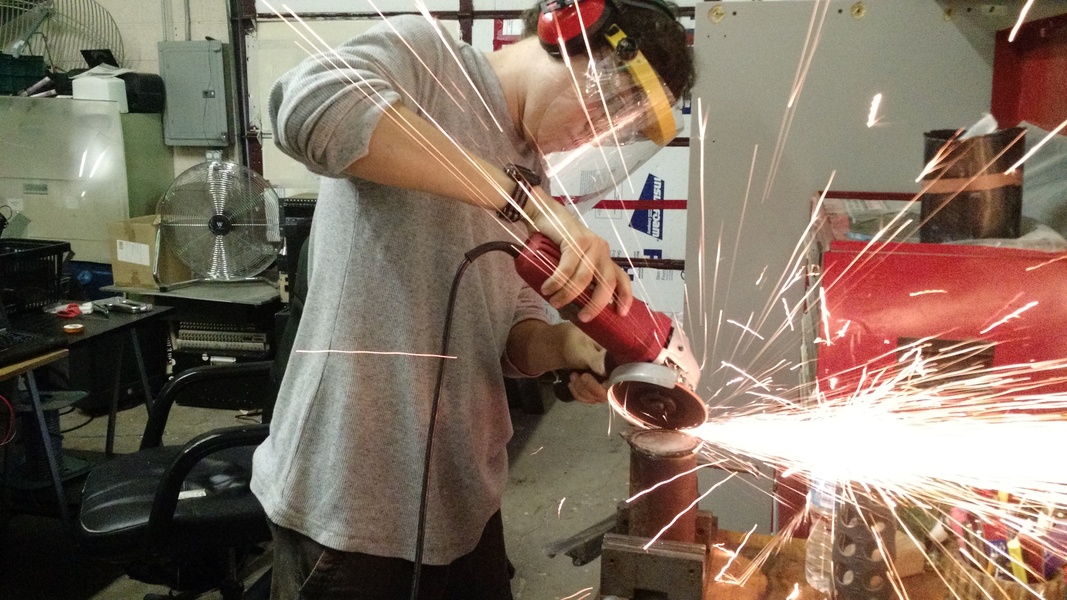
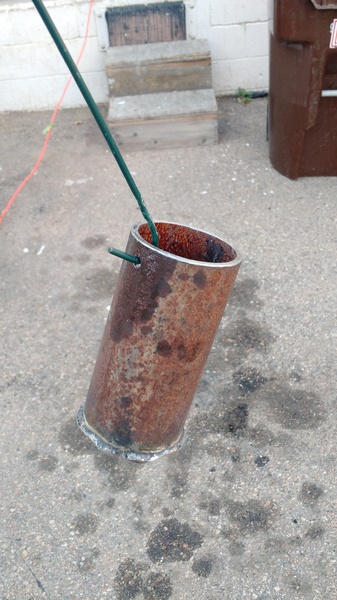
The crucible was the most difficult piece to source parts for and fabricate. It was important that my crucible be able to fit a soda can as that was my main source of aluminum. I cut a segment of a sufficiently large steel pipe and welded a plate on the bottom then grinded of the ears of the plate. I've also heard of people cutting spent fire extinguishers or propane torches in half for crucibles. I then drilled a 1/4" hole to retrieve the crucible after heating.
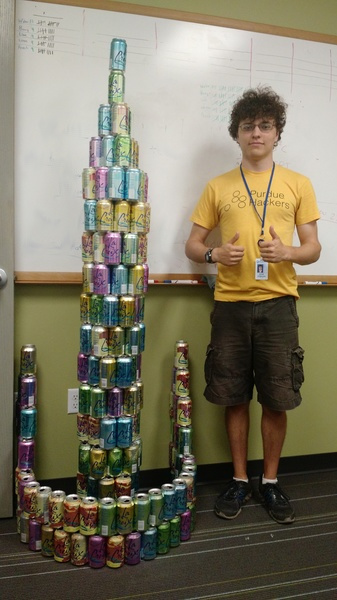
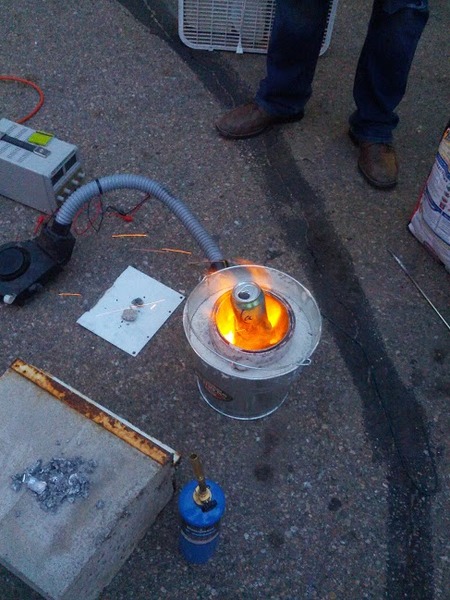
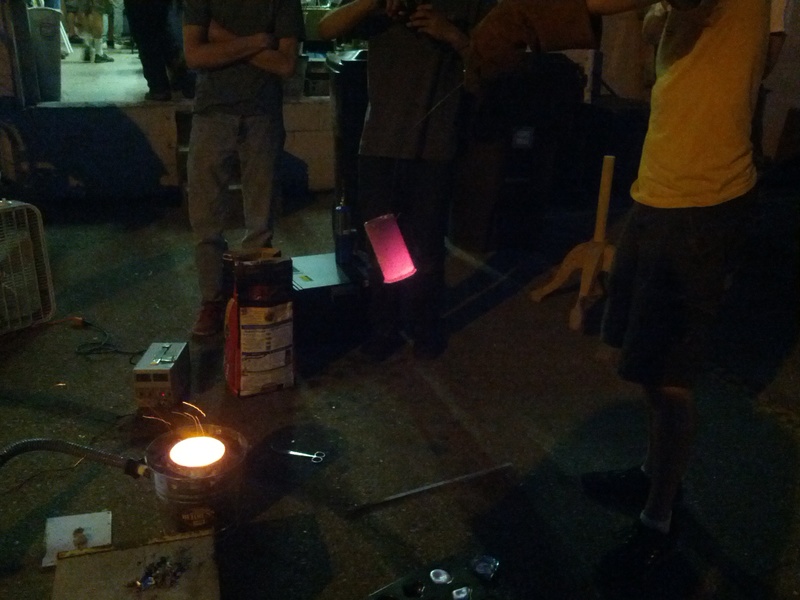
Once all the parts were ready, I put the crucible in the forge and surrounded it with charcoal bricks. I stuffed in an aluminum can and after about 20 minutes it began to soften and collapse on itself. 10 minutes later there was a silvery pool at the bottom and the next few cans melted in a matter of seconds. After 50 cans the crucible was full, so I geared up and poured my first ingots into a steel muffin pan.
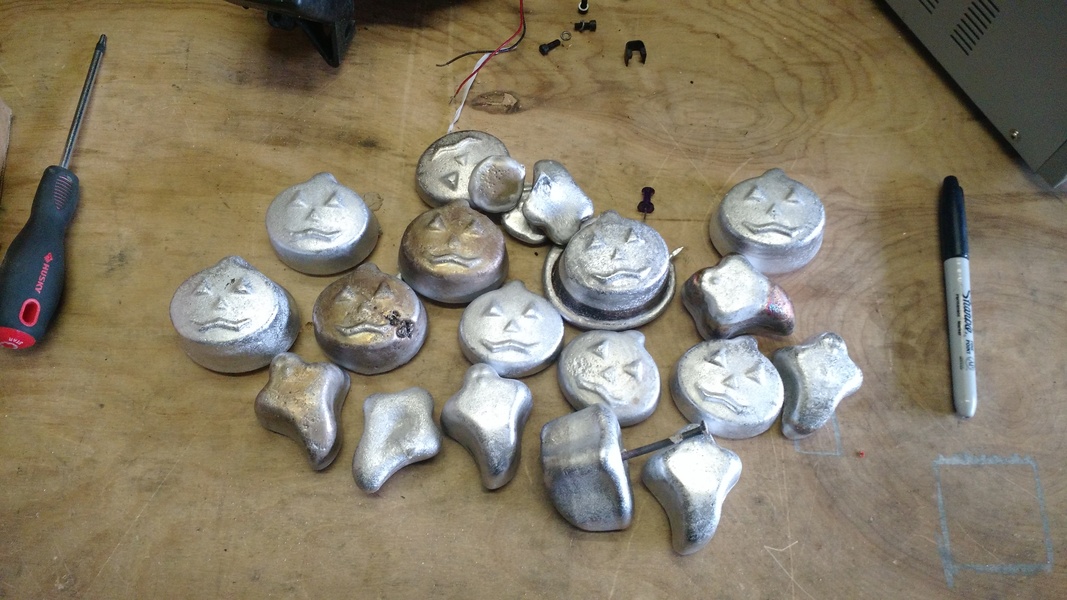
This step is important, as pouring the ingots removes the impurities from the paint and alloy in the can (which is about 95% aluminum). After pouring, about 1/4 of the crucible was full of dross which I removed by dropping it on a cinder block. After repeating the process several times, my can tower yielded somewhere around 8lbs of aluminum.
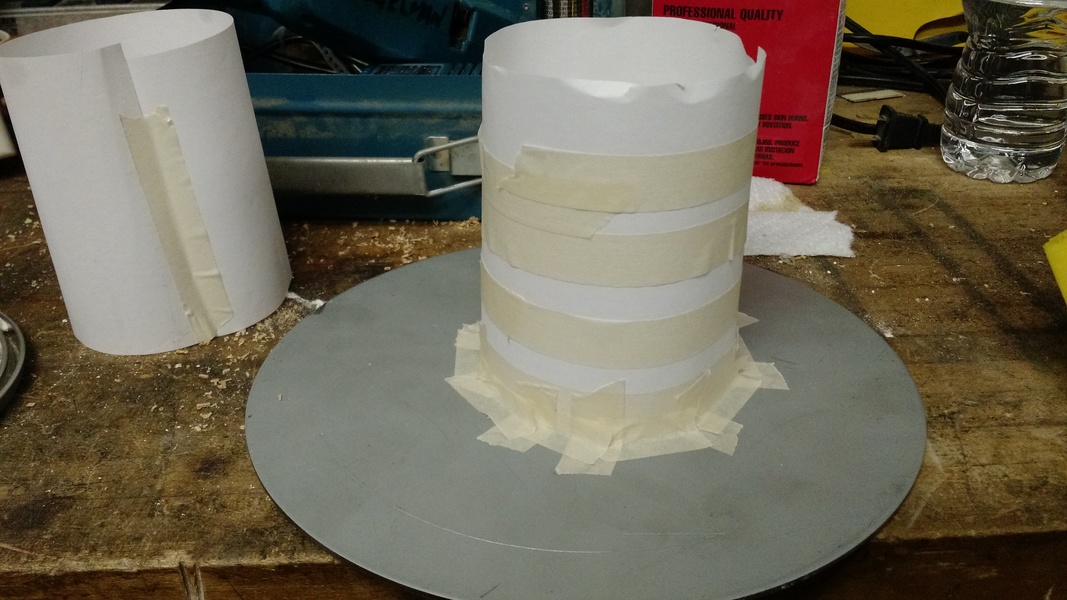
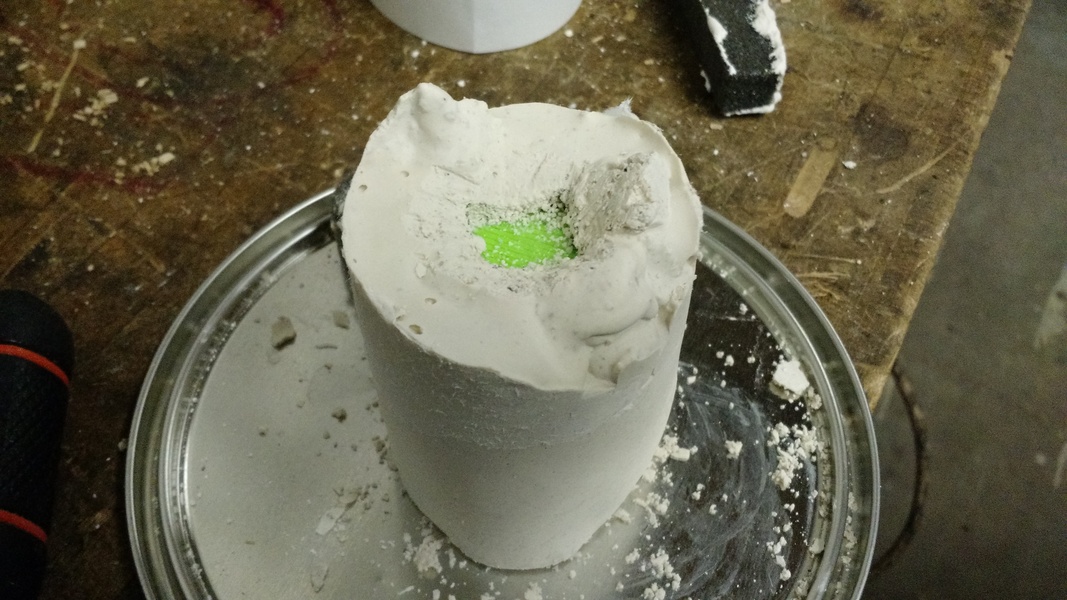
To make the molds I used the lost-wax method, but with 3d printed objects cthulu figurine and truncated rhombohedron. I found these paper cylinders better than using random plastic containers because I could adjust their size and reduce waste material. I would recommend a mixture of 1:1 plaster to sand for normal parts and a 2:1 ratio for higher detailed parts or figurines.
I glued foam sprues to the tops of my parts, poured about 1" of the plaster mixture, placed the parts inside, and filled the molds up to the sprues. The plaster solidified fast enough that paper tubes didn't rupture even though they became soggy. These molds were relatively small and simple, so they didn't require any gas escapes. Once the plaster set, I removed the foam sprues and burned out the PLA by placing them upside down in the forge. Be sure to let the plaster dry fully before firing them or the molds will crack as the water escapes. I blasted out the PLA residue with a compressor after the molds were cooled. I was surprised at how light the molds became at this point.
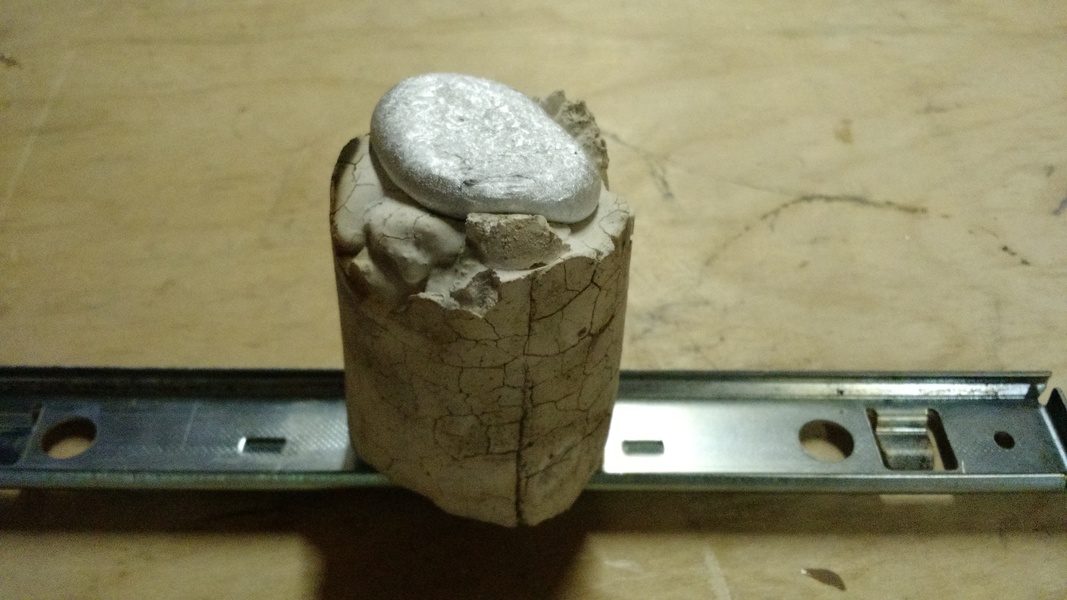
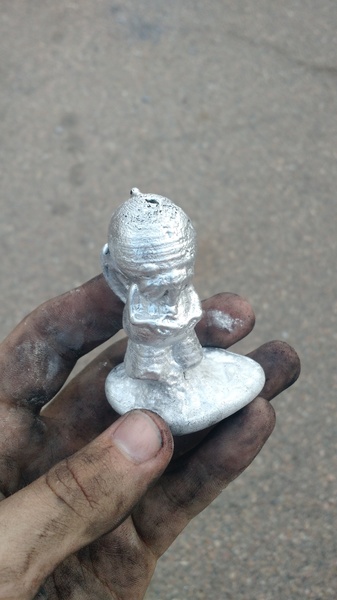
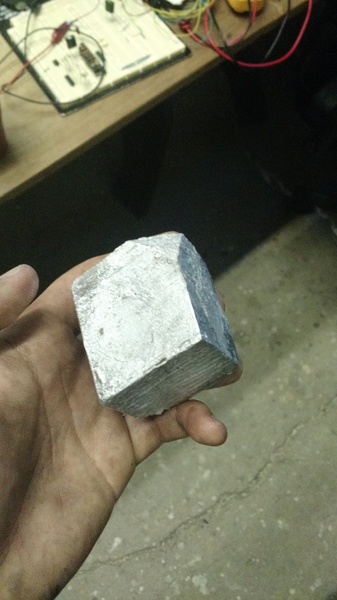
I melted down some of my ingots and poured them directly into the fired molds, then let them cool. After cracking the molds open with a hammer, I finally had my first cast aluminum parts. The cthulhu figurine came out surprisingly well, preserving much of the detail of the 3d print. The rhombohedron was also decent, but I noticed some small cracking and a slight concavity on the upper faces. This is probably due to the contraction from the larger mass of aluminum.